When it comes to home improvement tasks, learning how to replace a laminate floor plank can prove invaluable. Over time, even the sturdiest laminate flooring can succumb to damage, leaving unsightly blemishes that detract from your home’s overall aesthetic.
Fortunately, with the right tools and a bit of know-how, replacing a damaged laminate floor plank can be a straightforward process. This guide will walk you through each step of the process, making it easy for you to spruce up your flooring and keep your home looking its best.
Materials Needed
Here are the essential tools and supplies you’ll need to replace a laminate floor plank:
Replacement Laminate Floor Plank: Ensure to use the same brand and style as your existing floor for a seamless appearance.
Pry Bar: This tool is essential for carefully removing the damaged plank without damaging the surrounding ones.
Hammer: You will use this to gently tap and fit the new plank into place.
Utility Knife: This is used for cutting and trimming the replacement plank if necessary.
Measuring Tape: To measure the exact size of the area where the replacement plank will go.
Pencil: For marking cutting lines on the replacement plank.
Safety Goggles: To protect your eyes from dust and debris during the process.
Straightedge: For making accurate, straight cuts on your replacement plank.
Assess the Damage
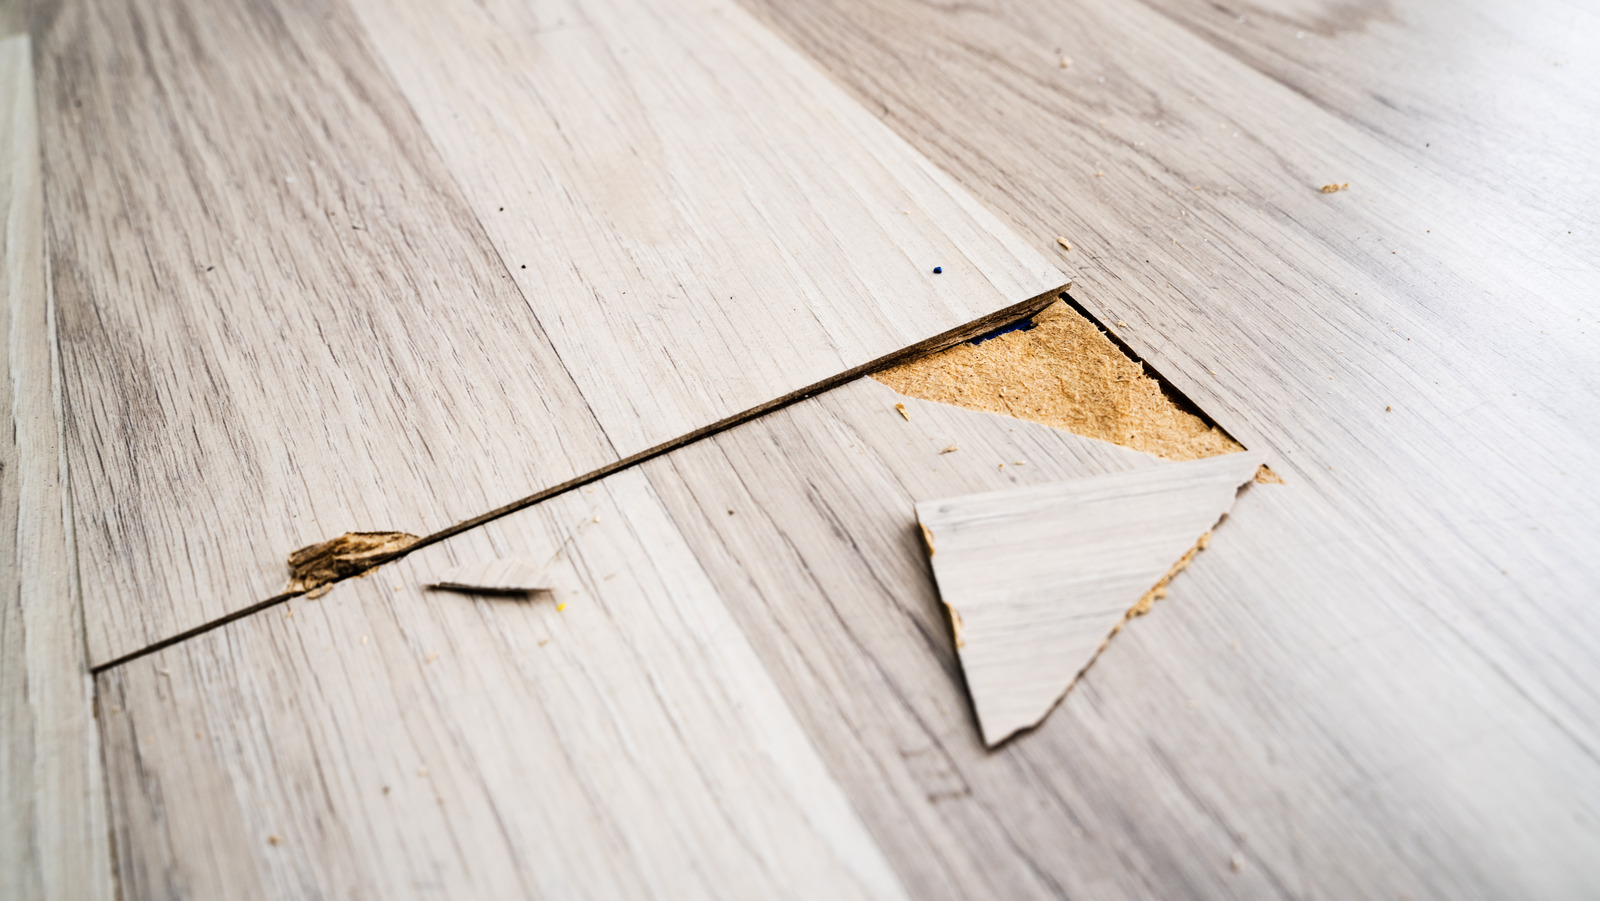
Before starting the actual replacement process, it’s paramount to assess the damage. This is a step that determines whether a plank needs to be replaced or if a repair could suffice. Begin by examining the laminate floor plank closely.
Look for cracks, chips, or deep scratches that can’t simply be filled in or buffed out. If the damage is superficial, you might consider using a laminate floor repair kit instead of replacing the entire plank.
Next, check for signs of water damage. This might show up as warping, buckling, or swelling on the surface of the plank. Laminate flooring is highly resistant to water, but prolonged exposure can lead to damage that necessitates a replacement.
If you notice a plank has become spongy or soft to the touch, this could signify more severe water damage, and replacement is likely necessary.
Finally, consider the location of the damage. If it’s in a high-traffic area or a spot in your home that draws a lot of attention, replacement might be the best option even if the damage isn’t severe.
An unsightly blemish can detract from the overall look of your space, and replacing the plank can restore your floor’s aesthetic appeal.
Remove the Damaged Plank

Protect the Surrounding Area
The first step in removing a damaged plank is to protect the surrounding area. Cover the undamaged planks adjacent to the damaged ones with a durable, scratch-resistant material such as thick plastic sheeting or a drop cloth. This will prevent any accidental scrapes or scratches during the removal process.
Cut Into the Damaged Plank
Next, you’ll need to cut into the damaged plank. Taking your utility knife, make a series of parallel cuts down the length of the plank, being careful not to cut into the underlying floor. Then make another series of cuts perpendicular to the first, creating a grid pattern.
This will make it easier to remove the plank in smaller sections, minimizing the risk of damaging the surrounding area.
Pry Up the Damaged Pieces
With your chisel and hammer, begin to gently pry up the pieces of the damaged plank. Start at one end and work your way across, taking care not to damage the tongue or groove of the adjacent planks. Once you’ve removed all the pieces, use a vacuum to clean up any debris from the area.
Remove Any Remaining Adhesive
After the plank has been removed, there may be some adhesive left on the underlying floor. Use your putty knife to carefully scrape off this adhesive, taking care not to damage the floor. Any remaining adhesive can interfere with the installation of the new plank, so it’s important to remove as much as possible.
Inspect the Area
Once the adhesive has been removed, inspect the area for any damage. If the underlayment or subfloor has been damaged, it will need to be repaired before installing a new plank. If everything looks good, you’re ready to proceed with the installation of the new plank.
Prepare the Replacement Plank
Before proceeding with the installation, it’s crucial to ensure that the new plank fits the space perfectly. Firstly, measure the gap where the old plank was removed using a tape measure.
Afterward, mark these dimensions on your replacement plank. Use a straightedge and utility knife to cut the plank along these marks. Always remember to consider the tongue and groove when measuring, as they will affect how the plank fits into the space.
After cutting, place the new plank into the space to ensure it fits correctly. Make any necessary adjustments to the plank before proceeding to the next step.
Install the New Plank
Step 1: Apply Adhesive
Start by applying a suitable flooring adhesive to the back of the new plank. Ensure you’ve liberally covered the entire surface, but avoid using so much that it oozes out when the plank is installed.
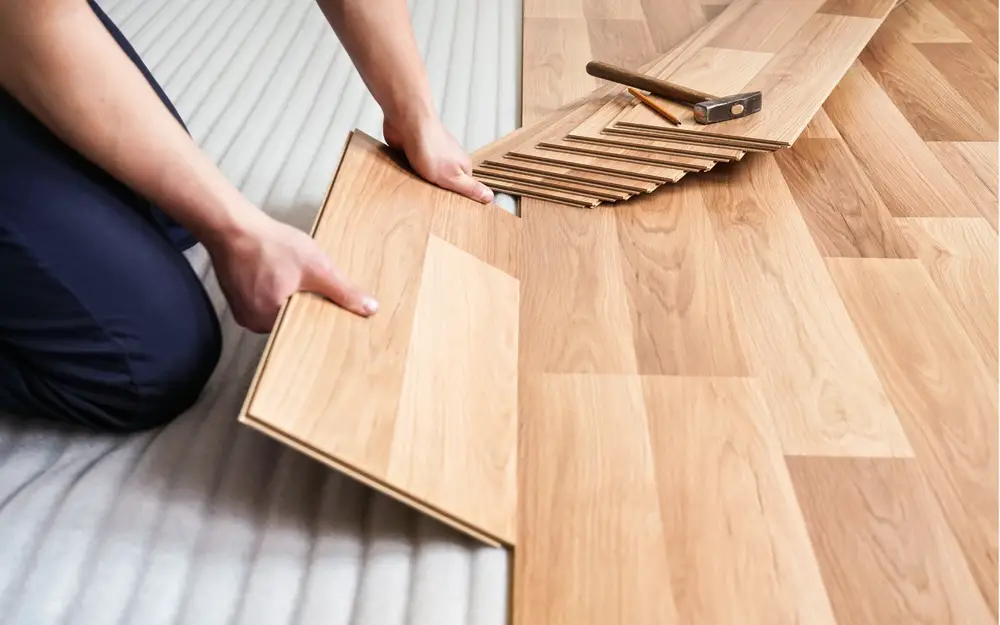
Step 2: Place the Plank
Next, carefully position the new plank in the opening. Begin by inserting the tongue of the new plank into the groove of the adjacent plank. Make sure to align all edges perfectly.
Step 3: Secure the Plank
Once the plank is correctly positioned, apply gentle pressure across its entire surface. This allows the adhesive on the back of the plank to bond with the floor. Be sure to clean up any adhesive that may seep out immediately to avoid it hardening on the surface of the surrounding planks.
Step 4: Add Weight
After setting the plank in place, put some weight on it to assist the adhesive bonding process. This could be a stack of books, a toolbox, or any other heavy object. Leave the weight on the plank for the time recommended by the adhesive manufacturer.
Step 5: Replace the Baseboard
Once the adhesive has dried completely, you can replace the baseboard. Ensure it aligns with the rest of the baseboards and secure it in place.
Related Topics:
Final Inspection and Cleanup
After completing the plank replacement, it’s paramount to ensure the job is done correctly and the area is spotless. Begin by inspecting the newly installed plank for alignment and secure bonding.
Make sure it is flush with the surrounding planks and there are no protruding edges. If you notice any discrepancies, address them promptly. Furthermore, it is essential to clean the work area thoroughly.
Sweep or vacuum to remove dust and debris. If any adhesive residue is present on the floor, use a damp cloth and a mild cleanser to wipe it off. Remember, a tidy work area not only reflects the quality of your craftsmanship but also prevents potential accidents.
Conclusion
Replacing a laminate floor plank is a task that can be accomplished by any homeowner with a basic understanding of DIY principles and the right tools at their disposal.
As detailed in this guide, the process involves assessing the damage, removing the compromised plank, preparing the replacement plank, and securing it in place. By following these outlined steps, you can restore your laminate flooring to its initial pristine condition, enhancing the overall aesthetic appeal of your home.
Always remember that the final inspection and cleanup are crucial aspects of this task, reflecting the quality of your work and ensuring safety in your home. By mastering this valuable home improvement skill, you’ll be prepared to tackle similar flooring challenges in the future with confidence and ease.
FAQs
Can I replace a laminate floor plank myself or should I hire a professional?
Yes, you can replace a laminate floor plank by yourself if you have basic DIY skills and the necessary tools. The step-by-step guide provided in this document should help you through the process. However, if the damage is extensive or you’re not comfortable doing it yourself, hiring a professional might be the best course of action.
What tools will I need to replace a laminate floor plank?
A2: The tools you’ll need to replace a laminate floor plank include a circular saw, chisel, hammer, replacement planks, and floor adhesive. It’s essential to ensure you have all the necessary tools at your disposal before commencing the job to ensure a smooth process.
What should I do if the replacement plank doesn’t fit properly?
If the replacement plank doesn’t fit properly, you’ll need to measure the space and the plank carefully to ensure they match. If the plank is larger than the space, you can trim it for a perfect fit. If it’s smaller, you may need to get a new plank. It’s always best to double-check measurements before making any cuts to avoid wasting materials.
1 thought on “How To Replace A Laminate Floor Plank: Seamless Flooring Renewal”