Are you looking to rejuvenate your space by replacing your worn-out floor? Installing new interlocking laminate flooring could be the perfect solution. This guide will walk you through the essential steps you need to follow to successfully replace interlocking laminate flooring in your home.
By mastering this do-it-yourself project, you can elevate the aesthetics of your room, all while saving on the cost of professional installation.
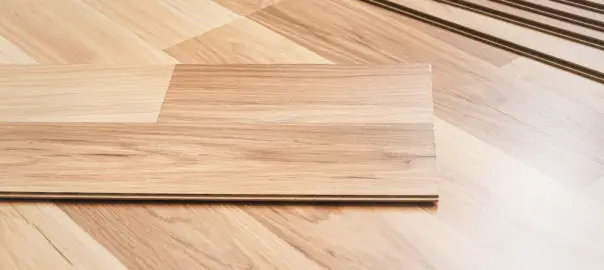
Interlocking laminate flooring refers to a type of floor covering that is renowned for its simple installation process. Each laminate plank is designed with grooves (usually on the long sides) that connect or ‘interlock’ with adjacent planks, much like a jigsaw puzzle.
The interlocking mechanism ensures a tight fit and seamless finish, eliminating the need for nails or glue. The result is a durable, cost-effective, and visually appealing flooring solution that is ideal for nearly any room in your home.
Proper maintenance of your interlocking laminate flooring is of paramount importance. Not only does it help to preserve the aesthetic appeal of your room, but it also extends the lifespan of the flooring.
Well-maintained flooring is less likely to suffer from unsightly wear and tear, such as scratches or warping, ensuring it remains in pristine condition for longer.
Plus, maintaining your flooring can also have financial benefits. Regular care reduces the need for replacement or repair, saving you money in the long run. Furthermore, a well-kept laminate floor can boost the overall value of your home, proving advantageous if you ever decide to sell.
Tools and Materials Needed
Before you start with the replacement process, it’s crucial to gather all the necessary tools and materials to ensure a smooth transition. Here’s a list of what you’ll need:
New Laminate Flooring: Ensure you have enough to cover the area, plus some extra for potential mistakes or future repairs.
Rubber Mallet: This is used to gently tap the planks into place without damaging them.
Pull Bar: This tool is essential for fitting planks in tight spaces or corners.
Tapping Block: Use this alongside the mallet to avoid damaging the interlocking system of the planks.
Utility Knife: This is necessary for cutting the laminate to the proper size.
Pry Bar: This will help in removing the old flooring.
Measuring Tape: Accurate measurements are vital for a flawless installation.
Pencil: For marking measurements on planks before cutting.
Spacers: These ensure a proper gap between the flooring and walls.
Underlayment: This layer goes under the laminate for soundproofing and to level the floor.
Removing the Damaged Laminate Piece
Clear the Area: Begin by removing any furniture or obstacles from the area where you’ll be working. This will provide you with ample space to maneuver and work effectively.
Identify the Damaged Plank: Locate the specific laminate flooring plank that needs replacing. It’s important to carefully evaluate the damage to avoid unnecessary removal of adjacent planks.
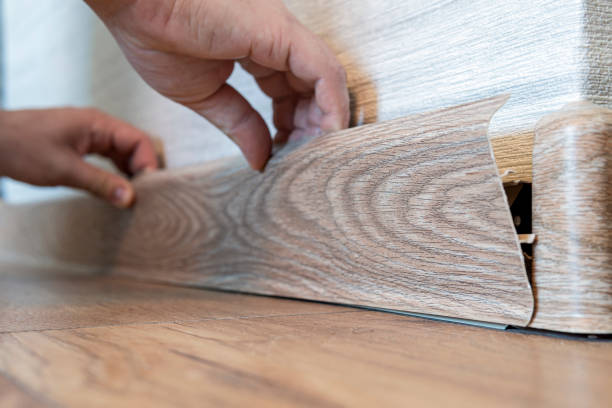
Remove the Baseboard: Utilize the pry bar to carefully remove the baseboard or molding closest to the damaged plank. Remember to exercise caution during this step to avoid damaging the walls or baseboard, as these will need to be reinstalled after the replacement.
Lift the Adjacent Planks: Starting from the baseboard, start lifting the adjacent planks. Use your pry bar to gently disengage the interlocking system of the laminate flooring. Continue this process, moving inwards until you reach the damaged plank.
Remove the Damaged Plank: Once you’ve reached the damaged plank, use the pry bar to lift it gently. Be careful not to damage the surrounding planks during this process.
Inspect the Underlayment: After removing the damaged plank, inspect the underlayment for any signs of damage. If the underlayment is also damaged, it should be replaced to ensure the longevity and performance of your new laminate plank.
Clean the Area: Before installing the new plank, it’s important to clean the area thoroughly. Remove any dust or debris that may have accumulated during the removal process to ensure a smooth installation of the new plank.
Preparing the Area for the New Piece
Cleaning and preparing the area before inserting the new laminate flooring piece is a vital step that ensures accuracy and efficiency during installation. Start by sweeping the entire surface with a soft brush to remove any dust or small debris.
Vacuuming can be a good option for a thorough cleaning, but avoid using a beater bar as it can damage the laminate surface.
Once the initial cleaning is done, inspect the area closely for any remaining residue or adhesive left from the old plank. This can interfere with the new plank’s installation, so remove it using a scraper or putty knife. However, be gentle during this step to avoid damaging the surrounding planks or the subfloor.
After scraping, wipe down the area with a damp cloth to remove any remaining dust or particles. Let the area dry completely before proceeding.
Remember, moisture can damage laminate flooring, so it’s important that the area is completely dry before the new plank is installed.
Once the area is clean and dry, inspect the surrounding planks and underlayment for any damage. If any damage is present, it should be addressed before installing the new plank. This step is crucial for ensuring your new laminate flooring piece fits perfectly and lasts as long as possible.
Installing the New Laminate Piece
Step 1: Acclimate the New Plank
Before you begin the installation process, allow the laminate flooring to acclimate to your home’s temperature and humidity levels. This can prevent future warping or buckling that might occur due to extreme changes in the environment.
Step 2: Dry Fit the Plank
Next, place the new plank into position to “dry fit” it. This means just laying it into place without any adhesive or locking it into the tongue and groove system. This helps ensure the plank fits well and you know exactly how it should sit.
Step 3: Apply the Adhesive (if required)
Some laminate flooring requires adhesive for installation. If this is the case for your plank, apply the adhesive to the side that will join with the existing flooring. Check the manufacturer’s instructions for any specific adhesive recommendations and application methods.
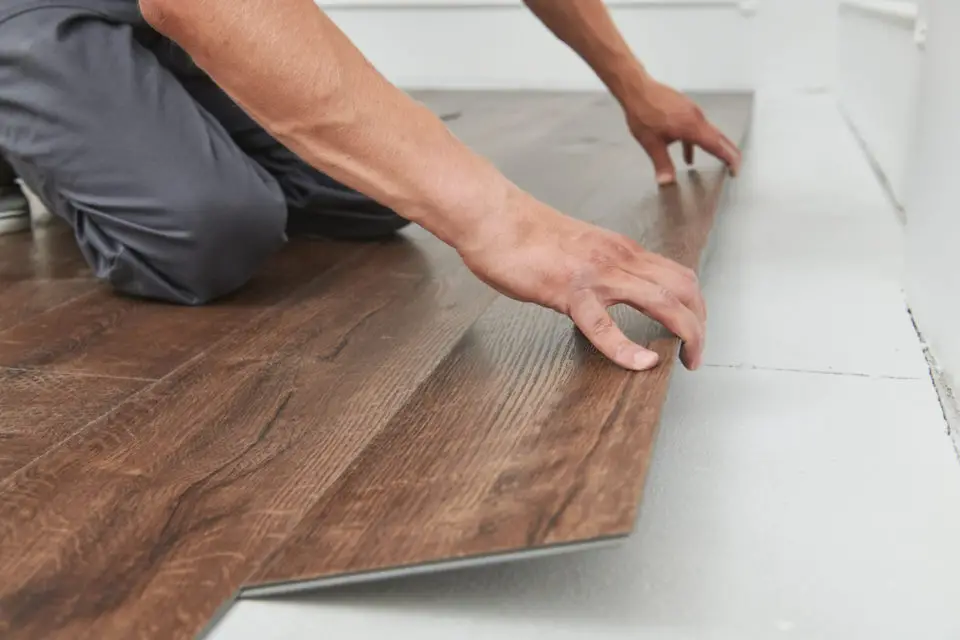
Step 4: Fit the Plank into Position
Carefully align the new plank’s tongue and groove with the existing piece. Press down and slide the plank into position, ensuring it fits snugly. Be cautious not to apply too much pressure that could damage the laminate’s surface.
Step 5: Secure the Plank
Once the plank is in position, secure it down. If your laminate flooring locks in place, this may be as simple as clicking it into position. For adhesively attached planks, apply weight on top of the plank to ensure a firm bond.
Step 6: Wipe Away Excess Adhesive
If any adhesive seeps out from the edges, gently wipe it away with a damp cloth. Be sure to do this immediately to avoid the adhesive drying on the surface of your floor.
Step 7: Allow the Adhesive to Dry
Finally, allow the adhesive to dry according to the manufacturer’s instructions. During this time, avoid walking on the new plank to ensure it bonds securely.
Related Topics:
Finishing Up
Once the adhesive is dry, test the newly installed plank for any movement. Apply slight pressure on different areas of the plank to ensure it is secure and doesn’t shift underweight.
Finally, to ensure the new plank blends with the rest of the flooring, clean it thoroughly using a gentle floor cleaning product. This will restore the shine and ensure consistency in appearance with the surrounding flooring.
Additionally, consider applying a matching laminate finish if the color of the new plank slightly differs from the existing floor.
Conclusion
Replacing interlocking laminate flooring is a cost-effective and rewarding DIY project that enhances the overall aesthetic of your home. The process is straightforward and manageable, even for those new to home improvement endeavors.
With a keen eye for detail, the right tools, and patience, you can successfully replace a damaged laminate plank, breathing new life into your room. This guide provides a step-by-step process, from identifying and removing the damaged plank to securing and finishing the new piece, ensuring a seamless transition.
Remember, taking your time during each step and allowing the adhesive to dry properly is crucial to a successful installation. With your newly installed laminate plank, you’ll have a refreshed and revitalized floor that continues to add value and beauty to your home.
FAQs
Can I replace a damaged laminate plank without professional help?
Yes, you can. The process of replacing a damaged laminate plank is quite straightforward and can be completed as a DIY project. This guide provides step-by-step instructions, from identifying and removing the damaged laminate plank to installing and finishing the new piece. With patience and careful attention to detail, you can complete this task without professional help.
How long should I wait for the adhesive to dry before walking on the new laminate plank?
The drying time can vary based on the specific adhesive used, but in general, it’s best to allow at least 24 hours for the adhesive to dry. Avoid walking on the new plank during this time to ensure a secure bond. Always refer to the manufacturer’s instructions for the most accurate drying time.