Laminate flooring is a popular choice for many homeowners due to its aesthetically pleasing look and long-lasting durability. However, over time, you may encounter an issue with your laminate flooring separating. This can be due to a range of reasons such as water damage, heavy traffic, or simple wear and tear.
But fear not, fixing laminate flooring that is separating is not as daunting a task as it may seem. This guide will walk you through the process of diagnosing the cause of the separation, choosing the right tools, and ultimately putting your laminate flooring back together.
Common Issues with Laminate Flooring
While laminate flooring is renowned for its resilience and low-maintenance nature, it can still encounter a few common issues. For example, you might notice the floor planks separating, gapping, or lifting, which could be due to fluctuating temperatures and humidity levels within your home.
Furthermore, water damage or improper installation can cause the laminate to warp or buckle. However, the most prevalent issue tends to be separation.
Separation often occurs due to the floor’s wear and tear, heavy foot traffic, or an insufficient expansion gap left during installation. This can lead to an unsightly and uneven floor surface, but with the right knowledge and tools, it can be effectively remedied.
Identifying the Cause of Separation
Before jumping into the repair, it’s critical to identify the underlying cause of the separation in your laminate flooring. Let’s delve into some of the most common reasons:
Improper Installation:
One of the main culprits behind laminate flooring separation is improper installation. This could be due to incorrect alignment of the planks during assembly, failure to acclimate the laminate to room conditions before installation, or not leaving the recommended expansion gap around the room’s perimeter.
If the flooring was installed too tightly against the walls, it might not have enough room to expand and contract with changing temperatures, leading to separation.
Water Damage:
Laminate flooring, while durable, is not completely resistant to water. Prolonged exposure to moisture can make the laminate planks warp or swell, leading to separation. This could be due to spills that aren’t cleaned up promptly, leaky appliances, or even high humidity levels in the room.
Changes in Temperature and Humidity:
Laminate flooring, like many other materials, expands and contracts in response to changes in temperature and humidity. This is a natural process, but if the fluctuations are too severe or frequent, it can cause the laminate planks to separate.
For instance, if your home’s heating or cooling system causes dramatic temperature changes, or if your home’s humidity levels fluctuate greatly with the seasons, it could be causing separation issues with your laminate flooring.
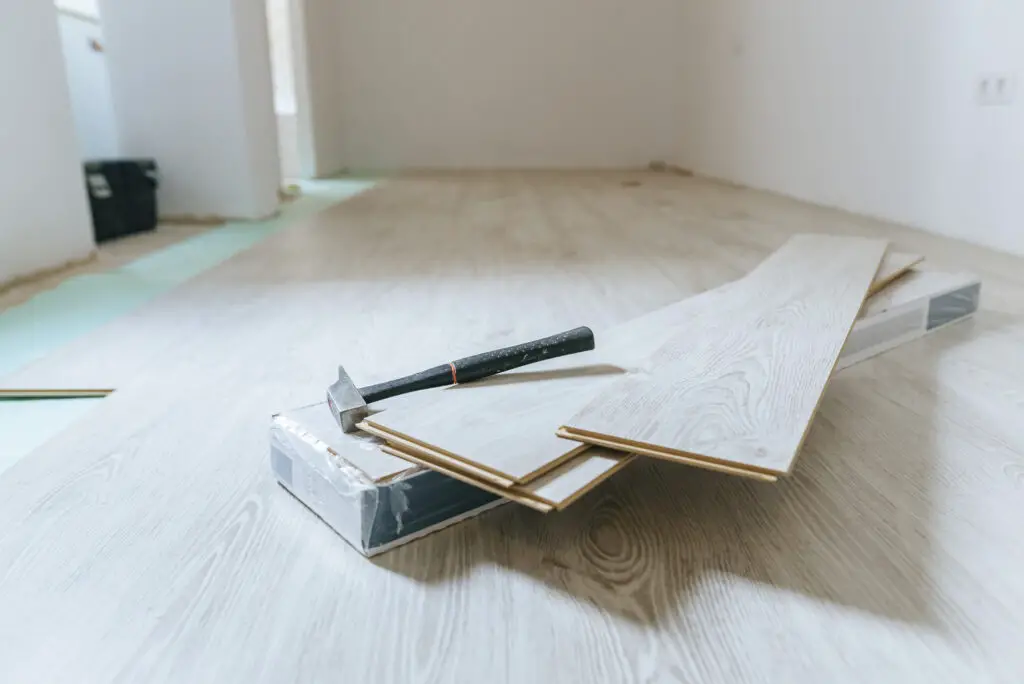
Materials and Tools Needed
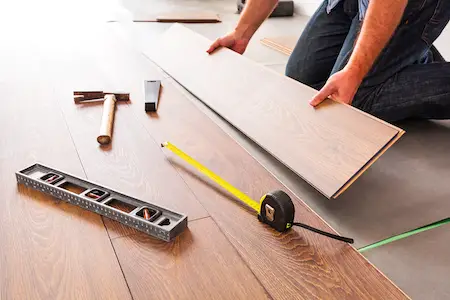
Before attempting to fix the separation in your laminate flooring, it’s crucial to have the right tools and materials on hand. Here’s a comprehensive list:
Pry Bar: A pry bar is a handy tool for loosening and lifting the laminate planks. It comes in different sizes, and a smaller one can be used to gently separate the planks without causing any damage.
Laminate Flooring Pull Bar: This tool is specifically designed for laminate flooring jobs. It helps to push the planks together tightly, ensuring a snug and seamless fit.
Rubber Mallet: A rubber mallet is used in conjunction with a pull bar to tap the planks into place. Unlike a regular hammer, it won’t cause any damage to the laminate surface.
Wood Glue: Wood glue is needed to adhere the laminate planks back together. It’s important to use glue that’s specifically designed for laminate flooring, as it needs to be strong enough to hold the planks together but flexible enough to allow for natural expansion and contraction.
Clamps: Once the wood glue is applied, clamps are used to hold the planks together while the glue dries. Again, it’s important to use clamps that are suitable for laminate flooring, as they need to apply even pressure without damaging the surface.
Safety Precautions
Before embarking on a laminate flooring repair project, it’s of utmost importance to prioritize safety. Always ensure to wear protective gloves and eye gear. Gloves will protect your hands from potential splinters, sharp edges, and direct contact with the adhesive substances.
On the other hand, eye gear shields your eyes from flying debris and accidental splashes of adhesive materials that could cause serious damage to your eyesight.
Remember, safety should never be compromised, even when tackling a seemingly simple task. In any DIY project, your well-being comes first, so it’s crucial to equip yourself with the necessary protective gear.
Step-by-Step Guide to Fix Laminate Flooring Separation
Step 1: Clearing the Area
The first step in repairing laminate flooring separation is to thoroughly clear the area. Start by removing all furniture and rugs from the room. Clearing the space ensures there are no obstructions when you’re working and allows you to have a full view of the floor.
Once the room is empty, clean the floor to remove any dust or debris that could interfere with the repair process. Use a vacuum cleaner or a soft broom to clean the floor surface and ensure it’s completely debris-free. This prepares the floor for the subsequent steps in the repair process.
Step 2: Removing the Baseboard
The second step involves removing the baseboards that border the periphery of the flooring. You may use a pry bar to cautiously loosen the baseboards from the wall. Always remember to be gentle to prevent any unnecessary damage to the wall or the baseboard.
Next, keep these baseboards in a safe place to reinstall them later once the flooring repair is complete. This step provides the necessary room to work around the edges where the laminate flooring usually begins to separate.
Additionally, removing the baseboards makes it easier to inspect and identify the extent of the flooring separation, guiding the repair process more effectively.
It’s an essential step that sets the stage for a successful repair of your laminate flooring.
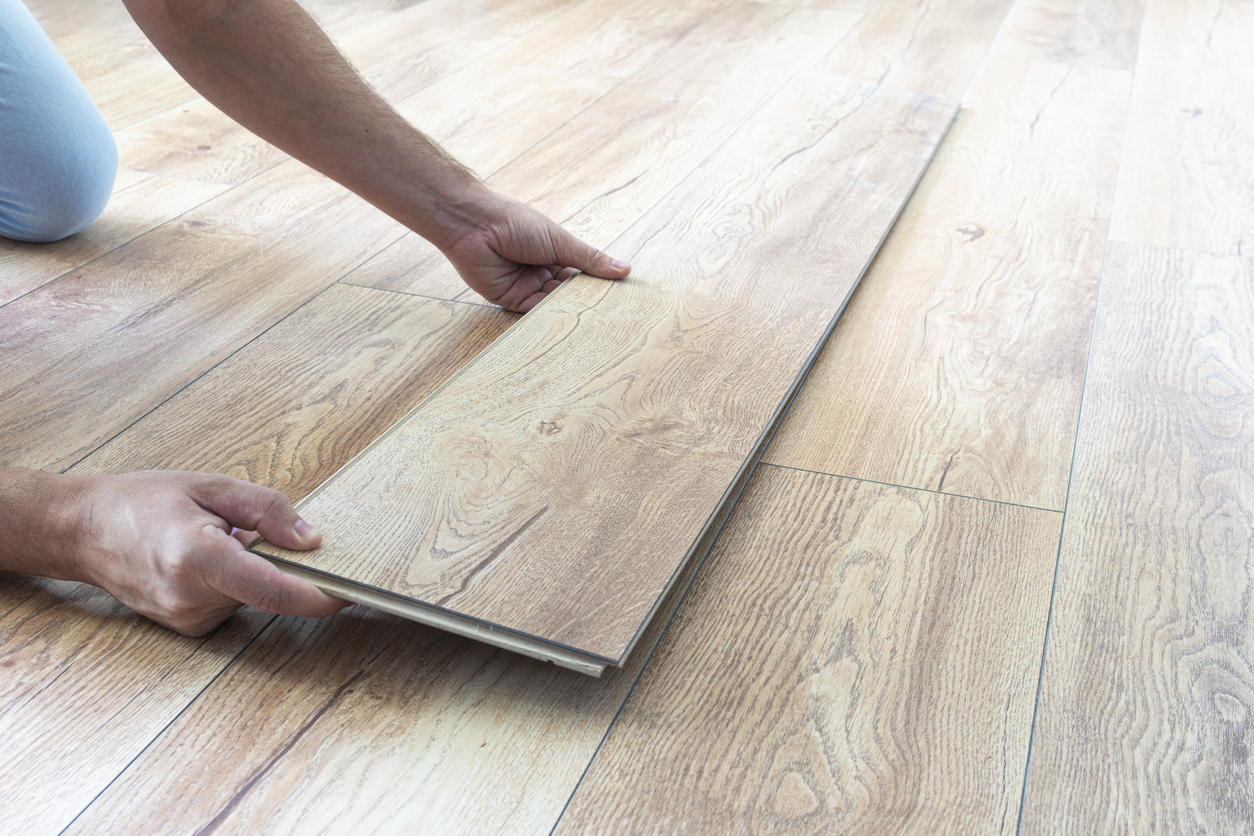
Step 3: Lifting the Separated Laminate Planks
The third step involves lifting the separated laminate planks. Start by identifying the planks that have separated from the rest of the floor.
Once identified, carefully lift these planks using a laminate flooring pull bar and mallet. It’s important to exercise caution when lifting the planks to avoid causing any further damage.
Ensure you lift the planks just enough to rectify the problem and replace or repair them. When lifting, try to keep the laminate planks intact, minimizing the risk of breakage or chipping.
Step 4: Applying Wood Glue
The fourth step involves the application of wood glue. Begin by choosing a high-quality, waterproof wood glue suitable for laminate flooring. Apply a moderate amount of glue into the groove of the separated plank.
It’s important to ensure that the glue is spread evenly to effectively bind the planks together. However, be cautious not to overapply the glue, as this can result in a mess and potential damage to the floor’s surface.
Once the glue has been applied, press the separated plank back into place. Wipe any excess glue that seeps out immediately with a damp cloth to prevent it from drying on the surface of your floor. Allow the glue to cure according to the manufacturer’s instructions.
Step 5: Reinstalling the Planks
The fifth step in the process is reinstalling the planks. After the glue has sufficiently cured, you should proceed to reinstall the laminate planks. Start from the wall and work your way towards the last repaired plank.
Carefully align each plank with its neighboring one and gently press down until it clicks into position. Ensure each plank is securely fastened and leveled with adjacent ones to prevent any future separation.
Once all the planks are installed, it’s advisable to place a heavy object like a stack of books over the repaired area. This helps in firmly bonding the planks together as the glue dries completely.
Step 6: Securing the Planks using a Mallet
The final step in the repair process is securing the planks using a mallet. This is particularly important for ensuring a tight fit between the planks. Start at the end of the row and work your way to the wall.
Place a small block of wood on the edge of the plank to prevent damage and gently tap it with the mallet. This action pushes the planks closer together, eliminating any gaps and ensuring a seamless finish.
Do this process patiently and carefully, ensuring you do not damage the planks in the process. Once complete, the laminate floor should look as good as new, with no signs of the previous damage.
It’s advisable to keep foot traffic to a minimum for at least 24 hours to allow the glue to fully set.
Step 7: Wiping off Excess Glue
The final touch to the laminate floor repair process is the removal of any excess glue. After you’ve securely installed and fastened all planks using the mallet, there might be some glue that has oozed out from the joints.
To ensure a clean finish, promptly wipe off this excess glue. Use a damp cloth or sponge and gently blot the glue, being careful not to rub it into the laminate surface.
For stickier patches, consider using a plastic scraper or an old credit card to gently scrape off the glue. Make sure not to use any sharp metal objects, as they can potentially scratch the laminate surface.
After all the excess glue is removed, let the floor dry completely. This comprehensive cleaning ensures a neat, seamless, and professional finish to your laminate floor repair.
Step 8: Reinstalling the Baseboard
Reinstalling the baseboard is the final stage of the laminate floor repair process. To start, carefully align the baseboard along the edge of the laminate floor. Ensure it sits flush against the wall and the top edge of the laminate. Utilize the nail set to hammer finishing nails at an angle through the baseboard and into the wall.
Be careful not to hammer the nails straight down into the laminate floor as it could cause damage. Space the nails approximately 16 inches apart, or in line with the wall studs, for a secure fit.
Once the baseboard is securely fastened, fill any visible nail holes with a wood filler that matches the baseboard color. Smooth the filler with a putty knife and allow it to dry.
Lastly, apply a thin bead of paintable caulk along the top edge of the baseboard where it meets the wall to create a seamless finish.
Related Topic:
Aftercare and Prevention Tips
Maintaining your laminate flooring is a crucial part of preventing future separation and damage. One of the primary steps to ensuring the longevity of your floor is handling spills promptly.
Any form of liquid, if left unattended, can seep into the gaps between the laminate boards, causing them to swell or separate. Therefore, as soon as a spill occurs, it should be wiped or blotted up immediately.
It’s also important to maintain consistent room temperature and humidity levels in your home. Extreme temperature fluctuations can cause the laminate flooring to contract or expand, leading to separation.
Aim for a temperature between 60 and 80 degrees Fahrenheit and a humidity level between 30% and 60% for the best outcome.
Finally, using the right cleaning products is essential. Avoid using abrasive cleaners, high-ph alkaline solutions, or wax-based products as these can damage the floor’s surface or leave a dull film. Instead, opt for cleaning solutions specifically designed for laminate flooring.
Regularly sweeping or vacuuming can also help keep your floor in top shape. Remember, a well-maintained laminate floor not only enhances the aesthetic appeal of your home but also prevents future repairs.
Conclusion
In summary, laminate flooring, while durable and visually appealing, can face issues like separation over time. However, with a clear understanding of the problem’s cause, having the right tools at hand, and following a step-by-step guide, you can effectively fix the separation and restore your floor to its original glory.
It’s crucial to remember the importance of proper maintenance and care in preventing future separation and damage. This involves prompt handling of spills, maintaining consistent room temperature and humidity levels, and using the right cleaning products.
Ultimately, a well-maintained laminate floor not only enhances the aesthetic appeal of your home but also secures its longevity and durability, saving you from future repairs.
FAQs
What tools are typically needed to fix separated laminate flooring?
To mend separated laminate flooring, you will need a few essential tools including a rubber mallet, a laminate flooring block, and some wood glue. The wood glue is used to secure the laminate pieces back together, while the mallet and block help to reposition the flooring and ensure a tight, seamless fit.
Can I use a steam mop to clean my laminate floor?
While steam mops can be highly effective for other types of flooring, they are not recommended for use on laminate. The heat and moisture from the steam can seep into the laminate boards, causing them to swell, warp, and separate. Instead, opt for a dry or damp mop and a cleaning solution specifically designed for laminate flooring.
1 thought on “How To Fix Laminate Flooring That Is Separating: DIY Guide”